Thursday, 31 May 2012

Take an 8x8 card and fold on the score line. Using your Docrafts clear ruler cut a line 2.5cm around 3 sides of the card. Do noy cut along the left hand edge.


Take an 8x8 card and fold on the score line. Using you
Docraft clear ruler cut a line at 2.5cm around 3 sides of the card. Do not cut
along the left hand edge.
Take an 8x8 card and fold on the score line. Using you
Docraft clear ruler cut a line at 2.5cm around 3 sides of the card. Do not cut
along the left hand edge.
Take an 8x8 card and fold on the score line. Using you Docraft clear ruler cut a line at 2.5cm around 3 sides of the card. Do not cut along the left hand edge.
Divide the cut panel in half and cut to the score line. Fold back on the score line.

Divide the cut panel in half and cut to the score line. Fold
back on the score line.
Fold the flaps in half to create a mountain fold.Cut 2 strips of card the width of the folded panels. score 1cm at one end. stick these to the narrow cut edge of the flap.

Cut 2 strips of card the width of the folded panels. Score
1cm at one end. Stick these to the narrow cut edge of the flap.
The strips of card need to come under the edge of the card.
The
strips of card need to come under the edge of the card.
Cut a frame from card.
Stick the frame to the card front. I like to see a border of the card base. So I trim the square.
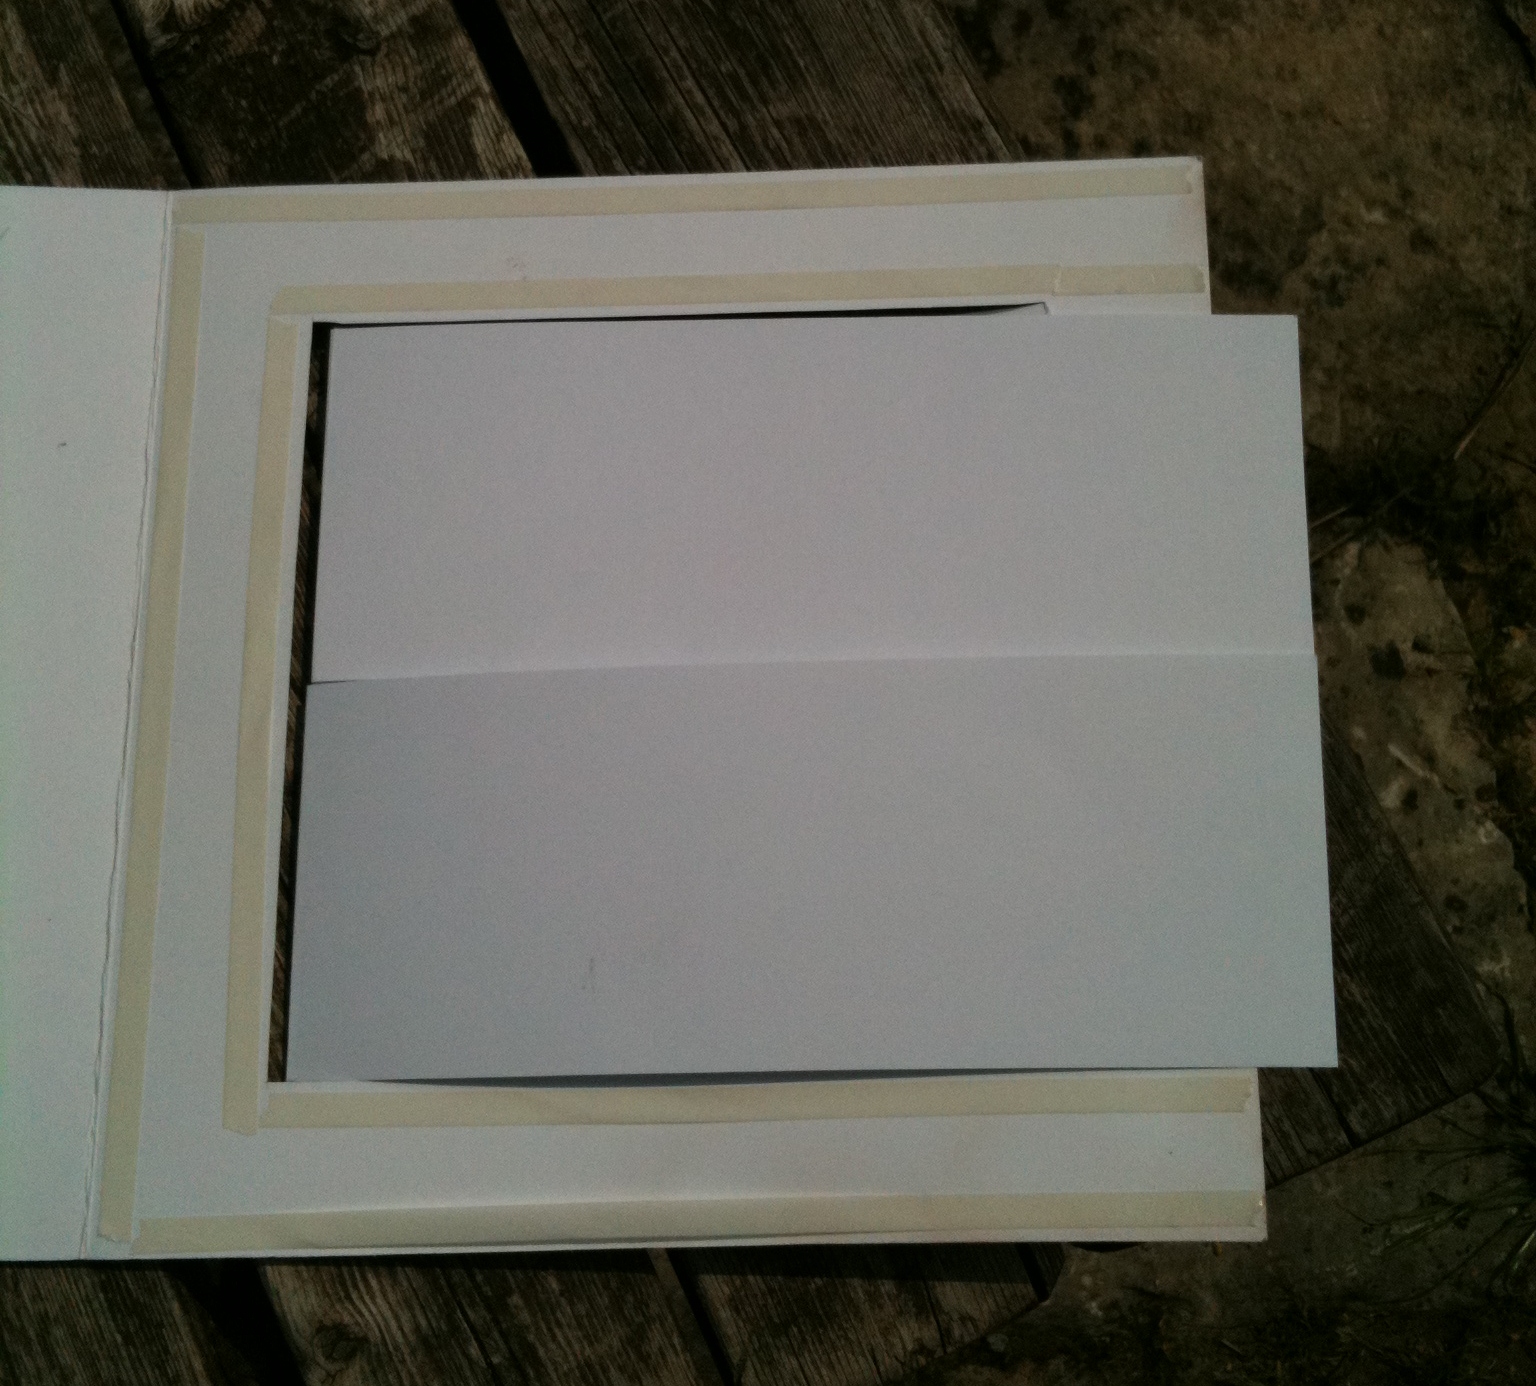
Stick the back of the card to the front. Remember that the strips of card need to be free running so don't put tape in this section.
Stick
the back of the card to the front. Remember that the strips of card need to be
free running so don’t put tape in this section.
The card should look like this.
Cut 2 pieces of card the same size as the mountain sections. Stick to the lower section of the mountain piece.
Decorate as required. Trim the strips punch a hole on the
bottom and tie ribbons.

Sunday, 6 May 2012

Scrapbooking galore

Portabello rd and kraft card worked great for this layout. This was the layout we did in our scrapbook crop in April.
Meet my grandaughter Paige and my son Oliver they will feature quite a lot in these pages as I hadn't started there scrapbook until this past month. shame on me she's now 18 moths old.
Lincoln linen paper work so well as I didn't want to be to use pinks or blues.
Both are forever Oliver will always be Paige's dad and that tattoo is there for ever. I should know!!!
This wasn't the actual first cuddle but it was the first one I was there for. Wellington papers and stamp set.
Boofle papers and ribbon made with 100% love.
Parkstone pink papers bloomers to celebrate the first night the little family went out together.Boofle buttons finished the bloomers off.
These next 2 pages were lifted from a couple of pages created by coventry-Ann on Docrafts site she does some really beautiful pages
And I just had to try and replicate them. Thank you Ann for the inspiration.
Parkstone pink scraps and stamping.
You would never guess it but I love this photo of maisie and I have scrapped it so many times All the products used in this are Docrafts parkstone pink and the stamping was a goody bag stamp of a cake!! bet you have it at home somewhere.
Oliver as a little man Boofle buttons, papers and embossing folder.

Tuesday, 27 March 2012

Scrapbooking

I wish to enter this page into the favorite challenge on http://www.sjpapercrafts.blogspot.co.uk/


So we have had our first scrapbook crop and the layout above was the one we did in our mini worksho. Simple but effective. Love this photo it was a colour 6x4 photo taken about 11 years ago. I needed a 5x7 black and white so a quick visit to Staples and I had what I needed. The picture is of Maisie and I.

This is a variation of the first layout and is Paige's first photo shoot.
If you are visitor of my demo-di.blogspot.com blog you will know one of my favorite things are bluebells.
When we had our crop Maisie decided she would have a go at scrapbooking so she followed one of my layouts and created this page. the only thing I did for her was put in the words and journalling.
Buster the dog playing with daddy in the bluebell wood.

Sunday, 11 March 2012

Distressed card

This was such fun. My daughters friend is a goth so flowers were a no no. So out came the ink, masks and dies.

Lots of inking spraying and over stamping. Oh yes and a bit of embossing.


A mix of Tim Holtz and Papermania.


Monday, 13 February 2012

New Class

So here I am on my holiday's I would like to say the weather is lovely and hot!!!, but it's the heat from our log fire.
So I have been busy I have booked a hall for our new class. What class is this I hear you ask!!

A SCRAPBOOK CROP.


Due to popular demand I will be starting a crop on the 3rd Saturday of the month. The 1st will be.

Saturday 17th March 10am-4pm .


Jacket potatoes for lunch, teas and coffees included.

The idea is you bring along your own scrapbook projects and we will crop together. I will also be doing a 12x12 page with you. So you will need to bring a 5x7 inch black and white feminine photo, portrait layout. Good photos for this would be daughter, grandaughter, etc.

The cost will be £15 inclusive.
Places need to be booked by 12th March
Who says you have to have distress ink this tag was made using chalk inks.

Wednesday, 8 February 2012

Happy Anniversary

This is my interpritation of Mondays card. I have adapted it for my husbands 25th wedding anniversay card.

I know theres no silver but hey i think it's quite masculine.


It's not slushy sugar sweet but anybody who knows him knows he's not the slushy type.


Looking forward to a nice break now. Time to recharge and put some plans into action. Want to do a Saturday workshop so am going to do some research into that so watch this space.

Tuesday, 24 January 2012

Recessed window card.

Sorry this card got a bit squashed in my bag. Doh!!

Recipe

Card stock.
Image or decoupage.
Paper for the inside
Paper or card for the outside.
Embelishments.
Sentiment.
Ruler.
Knife.
Pencil.

This card can be made any size you wish the one at the top of this post is an A4 the one at the bottom of this post is A5.
I will give the instructions for the A5 card it's quite simple to scale down.

1. Take a piece of A4 score at 14cm turn the card 180 degress and score at 14cm fold and use your bone folder to make a crisp fold.
2. Open the card and place it right side down.
3. Put your image in the desired place and draw round with a pencil.
4. Score on top of this line and then again 1cm inside the pencil line.
5. Place the ruler from the top left corner to the bottom right corner. Cut along this line. and repeat on the top right to bottom left.
6. Fold the triangles out on the outer score line and back in on the inner score line.
7. Place the card onto the front of the card and hold in place. Turn the card over and draw a pencil line around the hole.
8. Cut the hole out just outside the pencil line.
9. Stick the card to the front of the card and decorate.
10. Stick your image into the window.
11. Trim the off cut of card created from the window.
12. Use the off cut to cover the back of the image.
The A6 card had a piece of paper stuck to the insde of the card and was decorated with a stamped image in the bottom right hand corner.


Quadrupal twisted easel card


Recipe

1 8x8 square card

6 4x4 square cards

8 pieces of paper 3 3/4" square in 2 different colours.

Scraps of card for stamping onto.

Brown chalk ink.

Portabello Rd stamps


1. Fold the 8x8 card to make a gate fold.

2. With the 4x4 square cards make up into twisted easels.

3. Decorate the cards using the portabello papers and stamps.

4. Stick these to the flaps of the gatefold card.


It's that easy give it a try.


2 for 1 card


Recipe

2 square cards I used anita's.

3 pieces of paper.

2 images.

sentiments and embellishments.
Scalloped square dies.

Masking tape.

Foam pads.

Die cutting machine.


1. Fold one card into a basic square card and the other into a gate fold.

2. Cover the inside of both cards.

3. Cover the front of the basic card.

4. Take the basic card open it flat and place the 2 largest dies onto the front of the card and pass threw your machine.

5. You now have a frame and a mat in paper and card stick the paper to the card.

6 . Stick one of the images into the aperture you have just created.

7. Finish off with sentiments and embellishments.

8. Take the gate fold card and close stick with masking tape the smaller of the 2 dies to the left of the fold.

9. Open the card out flat and pass threw your machine.

10. Close the card again and stick onto the right hand side. Now you can remove the tape fron=m the left.

11. Open flat and pass threw your machine.

12. Stick the frame to theleft front of your card using pads. Cut the frame and stick to the right hand side.

13. Finish off with sentiments and embellishments.

Sunday, 4 December 2011

Instructions for book card

O.K as promised here are the instructiuons for the book card. The front cover has been destressed and small beads have been stitched on.

The book can be any size you want just make the concertina box on the right about smaller than the cover I have left an inch either side.


The front cover is made in 4 pieces 2 are cut 6"x 6.5" lay your card landscape on your hougie board and score on 5" repeat on both pieces. Over lap the small 1.5" sections and stick. This creates the spine of the book.Destress all the edges including the and down through the spine on both sides.

Cut 2 pieces of card 5.75" x 5.25" emboss these and destress stitch the beads onto the front.

Stick the ribbon to the cover and then stick the embossed panels to the front.

Cut a piece of card 5.75" x 1.25" destress and stick to the outside spin.
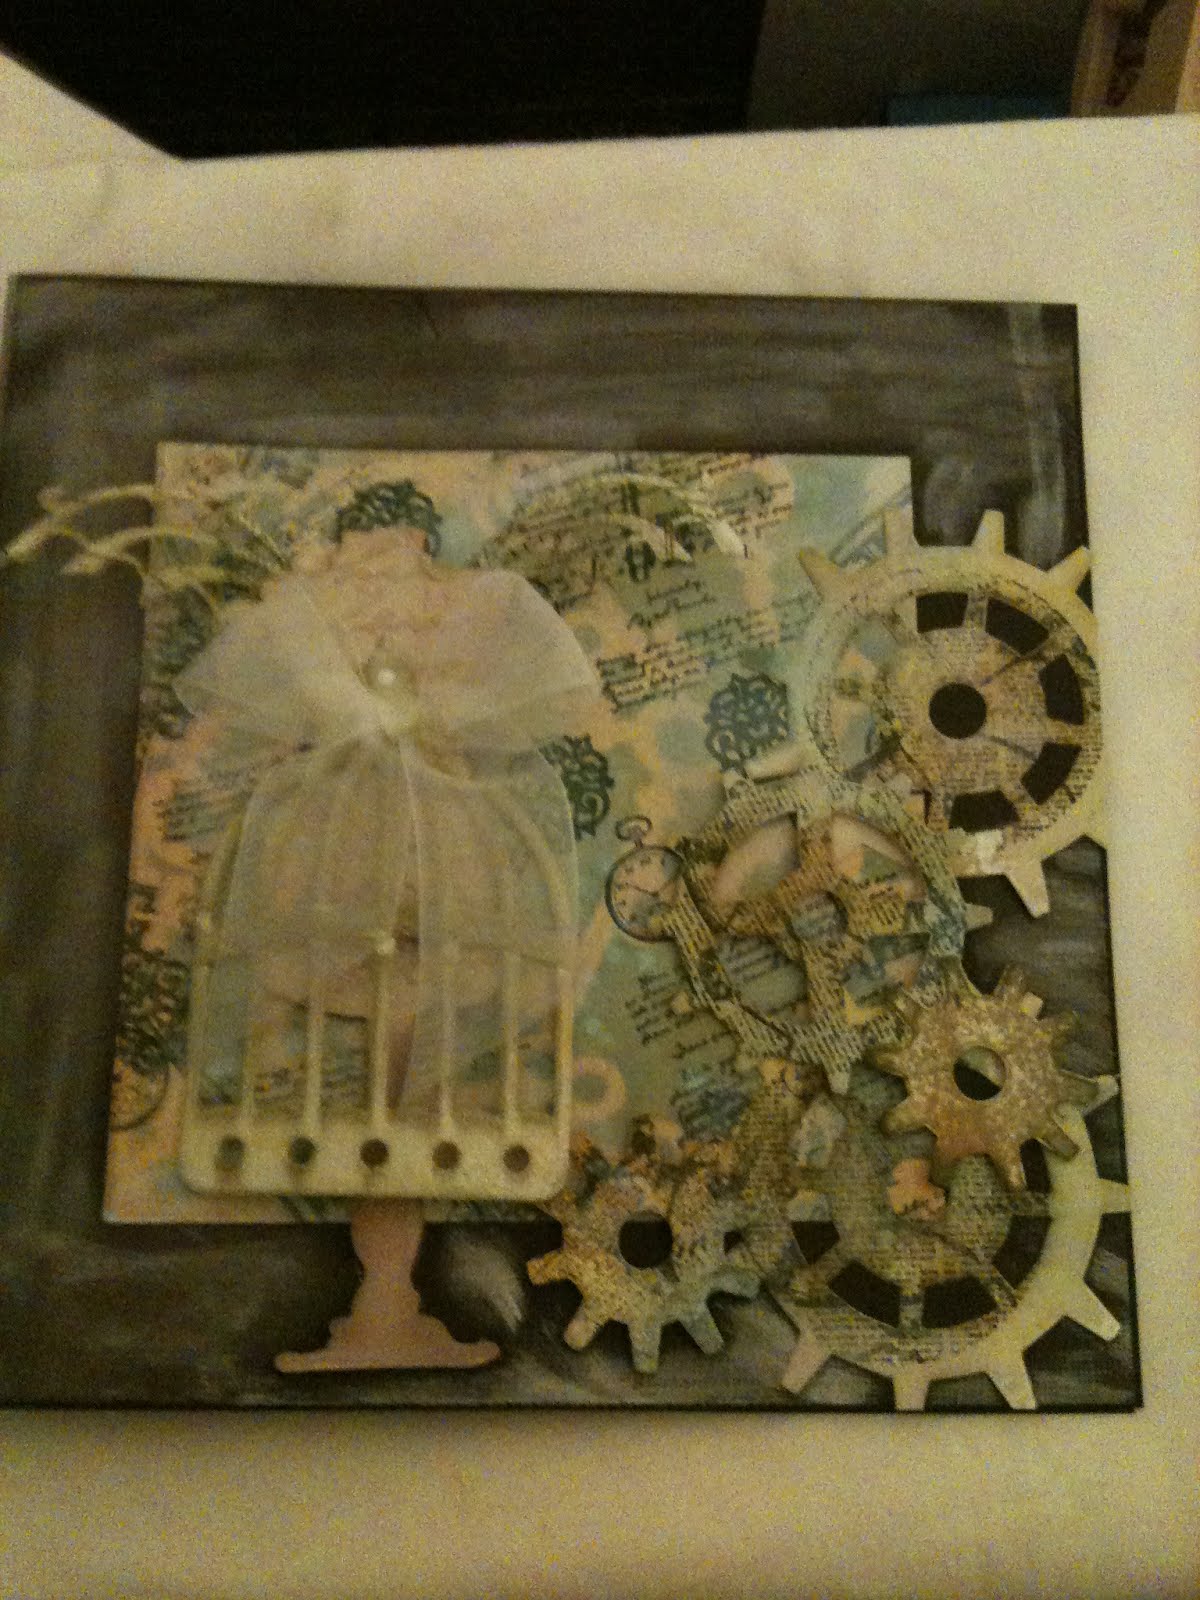
This is the front cover before I destressed them The one on the left I bought from Hobbycraft the one on the right is a Docraft one. The dress form is a Tim Holtz.


Cut 2 pieces of card 4" x 8" and 2 4.5" x 8" score across at 1/2" destress these and then fold. run the ink across the scored lines.


Using wet glue stick a 4" piece and a 4.5" piece at a right angle.


Fold over left then right until you get to the top then stick with wet glue. Repeat with all the sides to for you square. Whilst still wet tap into place so it's square.


Stick a picture behind the concertina and then stick onto the inside cover again use wet glue.

The left hand side was decorated with an image from the net which I destressed. The lace panel was a piece of card cut 5"x 1.5" an off cut of the net image was stuck onto the card and a piece of lace stuck onto the panel this was then stuck to the inside cover.

The corner flowers were stuck with wet glue and I made a little pin. the bow was made from seam bonding which I bought from fabric land I sprayed it with water the splodged some ink on my glass cutting mat which I sprayed again I then rolled the ribbon into the inky mess. Dry it and then stamp with a black ink and the urban stamps.


Hope this helps.

Thank you Dave for the fab photos!!